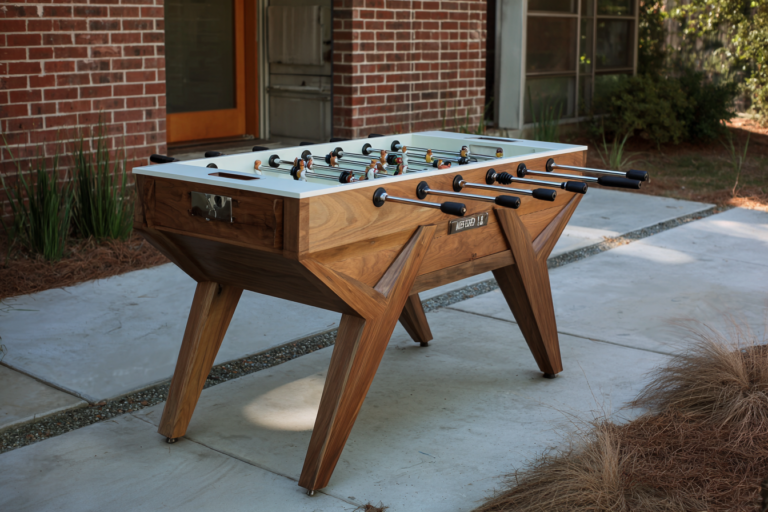
Correct foosball table setup involves three critical phases: assembling the cabinet upside-down to ensure tight joints, installing rods with the correct 1-2-5-3 player configuration, and precisely leveling the surface. If you skip the leveling or use the wrong lubricant, even a $1,000 Tornado table will play like a $50 toy.
Here is the exact process to get it right the first time.
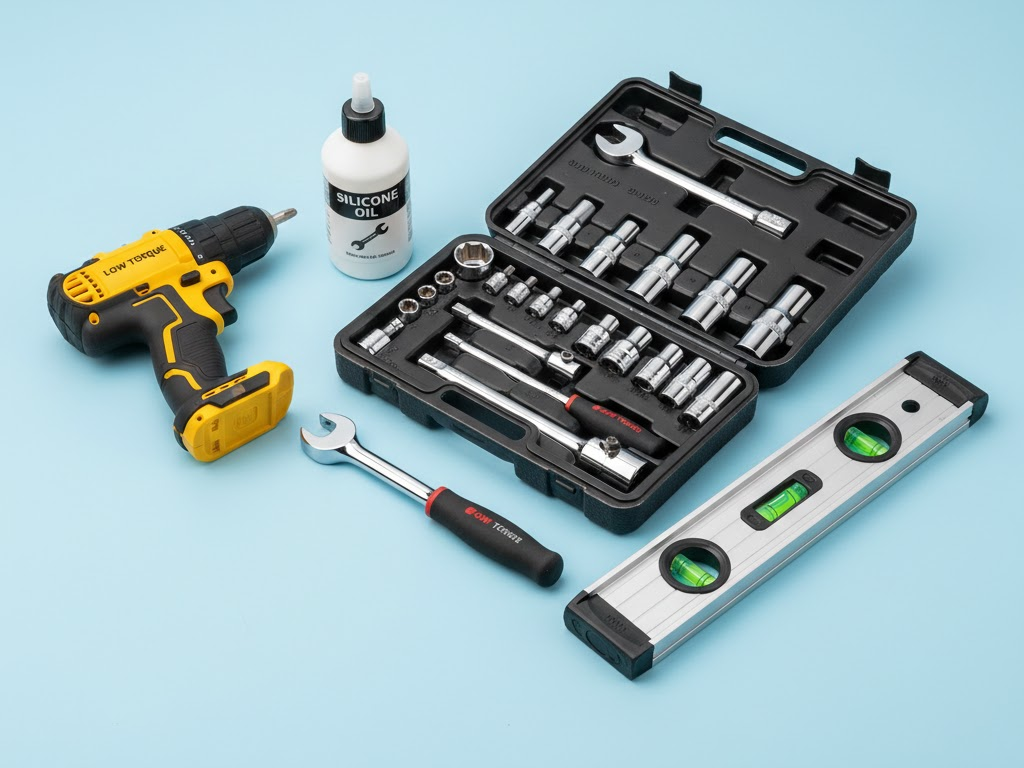
What You Need (The Toolkit)
Don’t rely on the tiny Allen wrench that came in the box. Grab these to save your hands and your sanity:
- Socket Wrench Set: Speeds up leg bolt tightening by 10x.
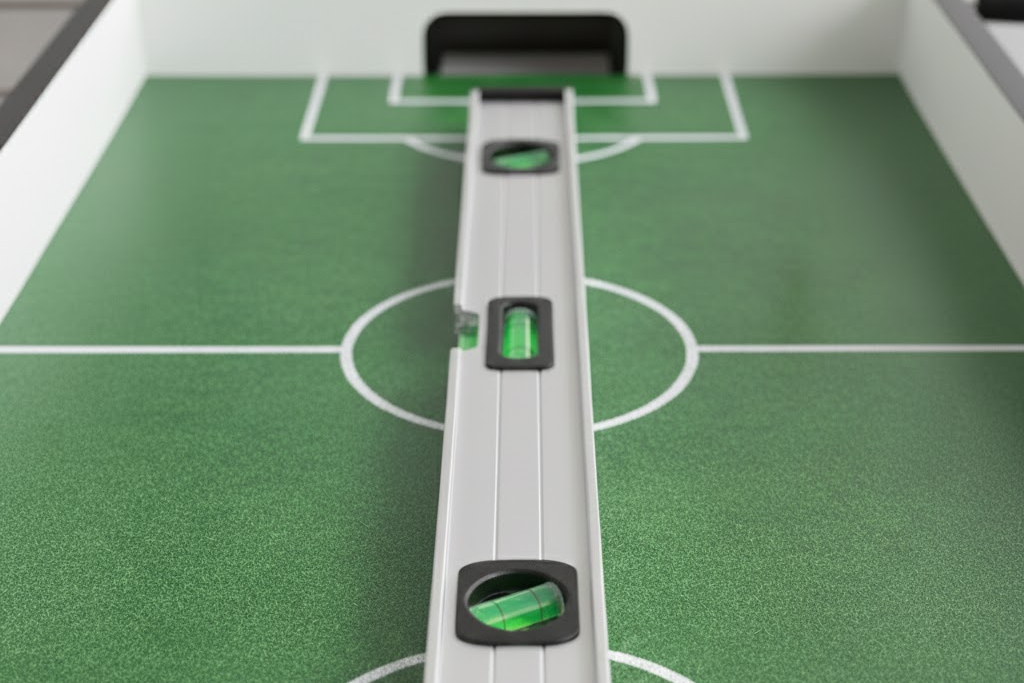
- Spirit Level (24-inch min): Do not use a phone app; you need a real carpenter’s level.
- Silicone Oil: NOT WD-40. You need 100% liquid silicone.
- Power Drill (Low Torque): To drive screws quickly, but set the clutch low so you don’t crack the MDF.
- A Buddy: You cannot flip a 100+ lb table alone without breaking the legs.
Step-by-Step Setup Instructions
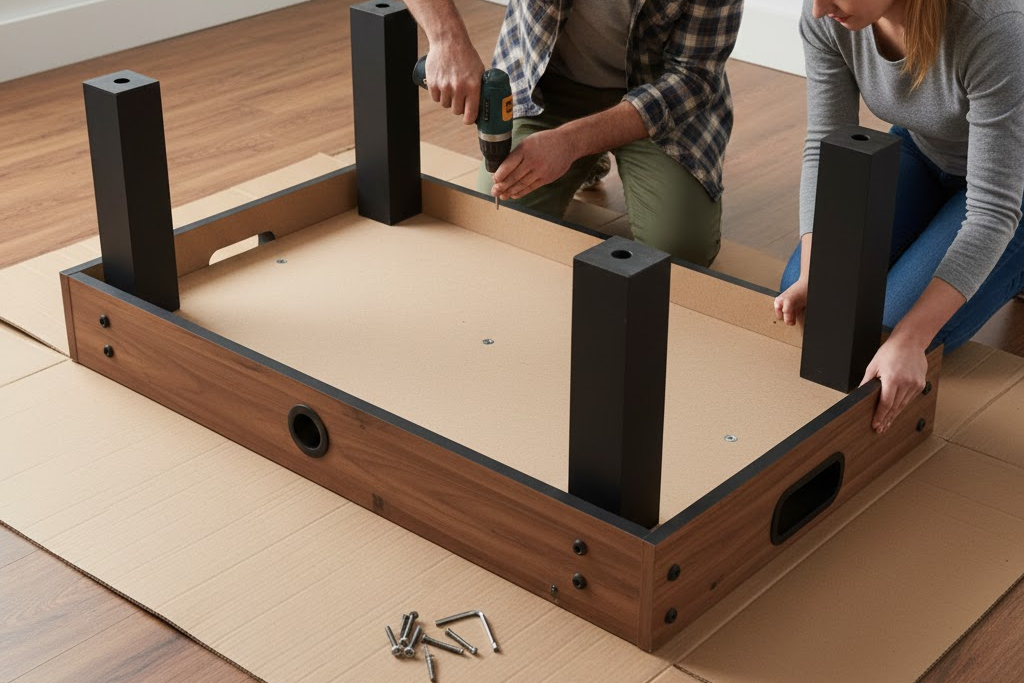
Phase 1: The “Upside-Down” Assembly
Most foosball table configuration manuals will tell you to do this, but they don’t explain why.
- Clear the Floor: Lay down the cardboard box the table came in to protect your floor (and the table’s top rails).
- Assemble the Cabinet: Build the box frame while it’s upside down. This allows gravity to help you align the heavy side panels perfectly. This is especially critical for modern, heavy cabinets like the Atomic Pro Force where seam alignment is key to that sleek look.
- Attach the Legs: Bolt the legs on while the table is inverted. Hand-tighten first, then use your socket wrench to lock them down in an “X” pattern (top-left, bottom-right, etc.) to ensure equal pressure.
Phase 2: The Flip (CRITICAL STEP)
🚫 WARNING: This is where 50% of tables get damaged.
- Do Not Pivot: Never try to roll the table onto two legs and pivot it up. The sideways torque will snap the particle board legs instantly.
- The Lift: With one person on each side, lift the table entirely off the ground, rotate it in the air, and set it down on all four legs simultaneously.
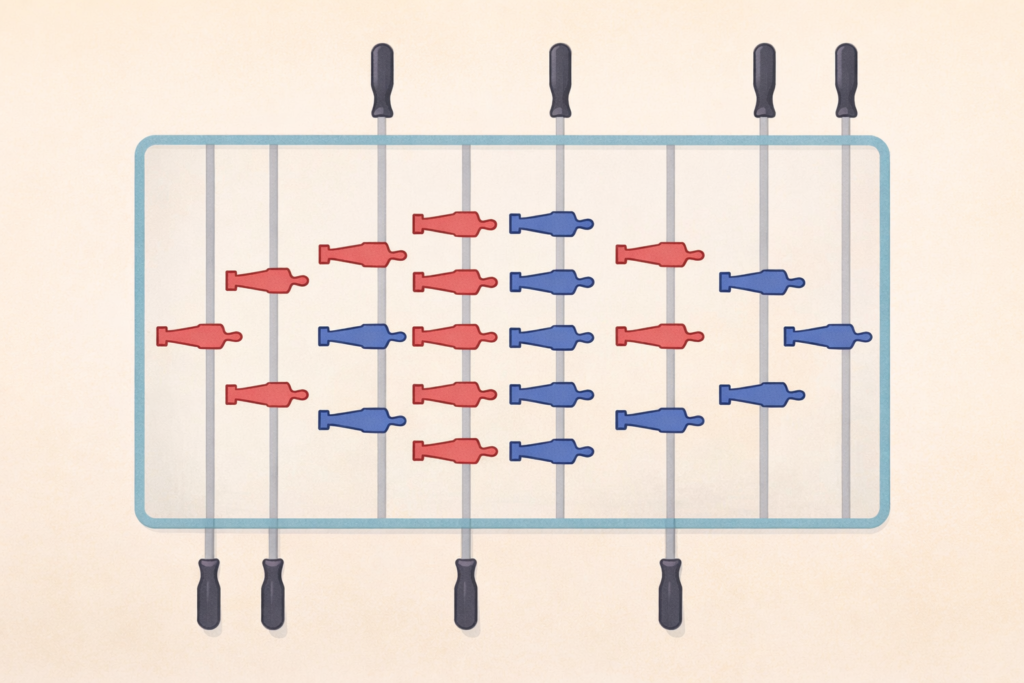
Phase 3: Rod & Player Configuration
If you put the men on backwards, you’re going to have a bad time.
- Cleaning: Wipe the manufacturing grease off the rods before inserting them.
- Insert Rods: Slide the rods through the bearings.
- The Formation: Standard foosball setup follows the 1-2-5-3 formation.
- Goalie Rod: 1 Man (Closest to goal)
- Defense Rod: 2 Men
- Midfield Rod: 5 Men
- Forward Rod: 3 Men (Attackers)
- Direction: Ensure all players on a team face the opposing goal. (I’ve seen bars set this up wrong. Don’t be that guy).
Phase 4: The Leveling
A slanted table ruins the game.
- Place the Level: Put your spirit level directly on the playing field (not the top rail). Check horizontally (goal to goal) and vertically (side to side).
- Adjust Legs: Twist the leg levelers (feet) clockwise or counter-clockwise to raise/lower corners.
- The “Slow Roll” Test: Roll a ball very slowly from the center. If it drifts consistently to one corner, that corner is too low.
Expert Insight: At OC Foosball, we’ve observed since 2001 that proper surface leveling adds 5-10 years to a table’s life. It prevents uneven wear on the rods and reduces stress on the cabinet joints.
Pro Tips: Insider Advice
The “Silicone Secret”
🚫 Never, ever use WD-40. It attracts dust and turns into a black, sticky gunk that ruins bearings. Use Liquid Silicone. Put a drop on the rod just outside the bearing, slide the rod back and forth, and wipe away the excess.
Confused about which brand to buy? Check our Complete Guide to Foosball Lubricants.
The “Bumper Buffer”
When sliding players and bumpers onto the rod, spray a tiny bit of glass cleaner (Windex) on the rod. It acts as a temporary lubricant to help tight rubber bumpers slide on, then evaporates without leaving a residue.
Common Mistakes (What NOT To Do)
- The “Hulk Smash” Tightening: Do not over-tighten screws into MDF (particle board). Once you hear the wood creak, stop. If you strip the hole, the table is compromised.
- Ignoring the Rod End Caps: Always install the safety end caps on the rods. If you play without them, a hollow rod acts like a cookie cutter on your opponent’s stomach during a fast game.
- Glueing the Handles: Unless you are 100% sure you never want to change bearings, don’t superglue your handles on. Use the friction method or a small wrap of electrical tape on the rod if the handle is loose.
Got the table set up? Now grab a drink, spin the rods (just kidding, don’t spin), and serve the first ball!